Chromecast and Google Home — A Great Combination

Two new toys showed up at the front door today. I took my time deciding between Amazon Echo and Google Home. I decided that Google Home was the my best choice. When I went to order, I saw that the Google Store is offering a discount on a Chromecast dongle purchased along with Home. The discount of $15 is available through midnight Pacific time on January 28.

Google Home is about what I expected, although it currently has some limitations. If your content is on Pandora, YouTube, or Netflix you will love the device. It cannot currently access content on Hulu or the various broadcast network apps. However, you can still access the content via your mobile device and then press the “Cast” button to view the content on your big screen.

The sound quality of Home is good for the size of the device. Setup of home is fairly easy using the Android app. Chromecast connects via an HDMI port but just hangs there. It ought to have some way of attaching it to the rear of the monitor. I may try some 3M double faced tape.

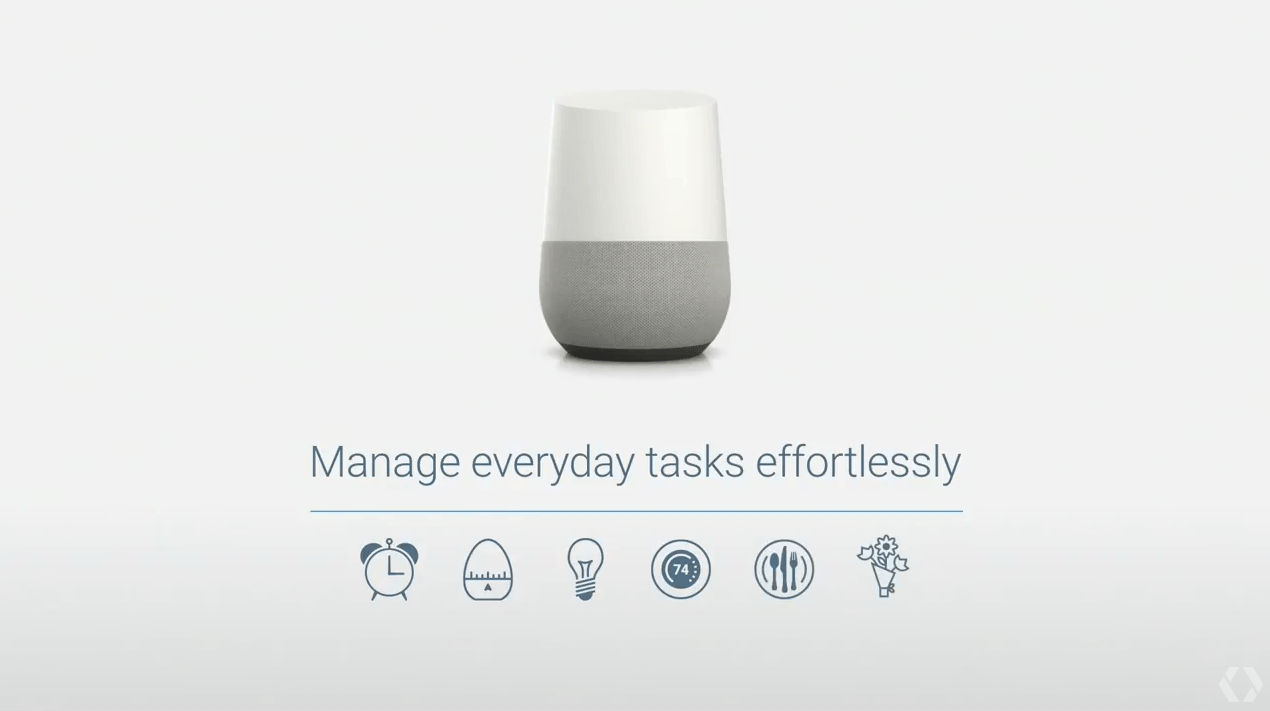
Home integrates with my Google calendar, so in the morning I can say, “Hey Google, what is my day like?” I’ll hear appointments, the weather, and the NPR news. It is supposed to be able to support multiple identities but I haven’t tried this yet. Tina will want to be able to hear her calendar too.

I tried listening to a number of different audio sources via Pandora and TuneIn. It all worked, except for CKTB, a news talk station in the Niagara area that I enjoy. Google thinks I am asking for CK TV and cannot locate it. I was able to cast content from the CBS app installed on my phone with little effort.

I’m sure I’ll learn more about the capabilities of Google Home and Chromecast as the days go on. Home is said to rely completely on the cloud so lacking features such as Hulu ought to be remedied in short order.

If you’re concerned about privacy, you should know that all your searches are logged, but can be deleted via the Google Home Android app. The device also sports a mute button should you wish to prevent Home to hearing private conversations.

If you enjoy varied media content and like to experiment, Chromecast and Home make a great combination and will provide hours of enjoyment.

Running Brandmeister XTG Dialer

[Update January 17, 2017:

The Brandmeister XTG Dialer (bmxtg.py) is now easier to configure. The program itself no longer needs to be edited to get it up and running. All configuration items have been moved to separate files. Download version 1.1 and be sure to read and understand the README file before you begin.]

I’ve received some inquiries on how to get the Brandmeister XTG Dialer script running. Assumptions here are that you can navigate your way around Linux, you know how to use a text editor, and you can look at the python program and figure out how to make a simple change.

1 — Copy the bmxtg.py program file along with the three configuration files (talkgroups.com, buttons.conf and masters.conf) to your home directory. It doesn’t even need to be on the same computer that your dv4mini is connected to, as long as you are behind the same NAT router.

2 — Figure out the URL for the BM Master that you are currently connected to. To do this look at the Brandmeister Masters page. Looks through the list, locate your master, click the status button and note the URL host portion before the first slash. It could be a name or it could be an IP address.

3 — Edit the bmxtg.py program and look for the bm_master assignment statement. There are currently two, with one of them commented out. You’ll need the bm_master variable to point to the master that your dv4mini is currently connected to.

For example, master 3021 is in Canada. Clicking the status button returns http://158.69.203.89/status/status.htm. The line would read:

bm_master = '158.69.204.89'

Be sure that only one bm_master assginment statement is active. You can leave the others there but comment them out by starting the line with a #.

2 — Carefully read and follow the instructions in the README file.

Brandmeister XTG Dialer

I’ve long hoped for a way to make it easier to change DMR talkgroups. I use a DV4mini and software installed on a Raspberry Pi 3 with a touch screen display. Wouldn’t it be nice if I could key in a Brandmeister extended talkgroup (XTG) number directly on the RPi, rather than use an Android app or a web browser? The now defunct DV4MF2 dashboard was a step in the right direction with XTG support, but its talkgroup list is now hopelessly out of date. Wireless Holding’s version of the dashboard allows connection to Brandmeister reflectors and to TG 4999, but doesn’t directly provide access to the XTGs.

So in the true Amateur Radio spirit, I built my own solution. Long ago, I made my living as a software developer. It was so long ago that we were called computer programmers. Nonetheless, I did some research and found that GTK provides support that I could use from within a Python program to create windows, buttons and so on in a Linux GUI environment.

DV4mini control panel in the background with the Brandmeister XTG Dialer in the foreground.

To further date myself, most Linux based programming that I’ve done in the past 20 years has been in Perl or Bash. I have recently gotten involved in implementing the Open Source Fail2ban host IPS system, which uses Python regular expressions. I have become slightly proficient with regexes, but knowing how to use them to match text in logs wasn’t going to help me.

Thankfully, a fellow named Kris Occhipinti put together a treasure trove of programming instruction videos, some of them covering Python, GTK, and specifically how to create a keypad. His intent in some of the videos was to create an app for spoofing caller id, but I could borrow what I needed.

What I came up with is a Python/GTK app that opens two windows. One window is a dialer keypad and the other window is a memory present keypad. A Brandmeister TGID can be keyed in from a keyboard, pressed on a touchscreen, clicked with a mouse…or you can just use a preset with a label like “USA” or “Tri State” instead of a number. The app makes use of the published Brandmeister API, which is very simple, uses HTTP and returns data in JSON format. Python very nimbly handles it all.

If you’re a licensed amateur radio operator, have a DV4mini, and are Linux proficient, please give it a try and leave your feedback below.

A Modern Manchurian Candidate?

Max Boot writes in the NY Times, “The fact that Mr. Trump seems to give greater credence to the Kremlin than to United States intelligence agencies is precisely what has set off so much speculation about his real motives in cozying up to Mr. Putin.”

The quote comes from his article covering the publication, by Buzzfeed, of unsubstantiated foreign intelligence about the next President of the United States, CNN’s reporting on the matter, and Mr. Trump’s reaction.

I think that Max has succinctly summarized a fundamental concern that Trump continues to raise with his Putin praise.

Installing Certbot on Raspbian Jessie

I wanted to install the Let’s Encrypt certbot package on a Raspbian Jessie installation that hosts my Asterisk PBX. I had manually installed a certificate but decided that the automated certificate installation is advantageous. Certbot is available as a backport.

Step 1 — Add the backport source location:

# echo "deb http://ftp.debian.org/debian jessie-backports main" \
> /etc/apt/sources.list.d/backports.list

Step 2 — # apt-get update

I received the following error:

W: GPG error: http://ftp.debian.org jessie-backports InRelease: The following signatures couldn’t be verified because the public key is not available: NO_PUBKEY 8B48AD6246925553 NO_PUBKEY 7638D0442B90D010

Step 3 — The two bolded keys needed to be added to the gpg keyring:

# gpg --keyserver pgpkeys.mit.edu --recv-key 8B48AD6246925553
gpg: requesting key 46925553 from hkp server pgpkeys.mit.edu
gpg: key 46925553: public key “Debian Archive Automatic Signing Key (7.0/wheezy) ” imported
gpg: no ultimately trusted keys found
gpg: Total number processed: 1
gpg: imported: 1 (RSA: 1)

# gpg -a --export 8B48AD6246925553 | sudo apt-key add -
OK

# gpg --keyserver pgpkeys.mit.edu --recv-key 7638D0442B90D010
gpg: requesting key 2B90D010 from hkp server pgpkeys.mit.edu
gpg: key 2B90D010: public key “Debian Archive Automatic Signing Key (8/jessie) ” imported
gpg: no ultimately trusted keys found
gpg: Total number processed: 1
gpg: imported: 1 (RSA: 1)

# gpg -a --export 7638D0442B90D010 | sudo apt-key add -
OK

Step 4 — Update the package list:

# apt-get update

Step 5 — Install the backported package:

# apt-get install certbot -t jessie-backports

Passing of Allstar Network’s Jim Dixon

Jim Dixon of Alhambra, CA was one of the developers who worked on hardware drivers for the Asterisk Voice over IP software. He took his knowledge and created app_rpt which then allowed Asterisk to function as a radio repeater controller usable by radio amateurs and commercial users. On the amateur radio side, this grew into a VOIP linking system for repeaters that is known as Allstar.

Steve Rodgers announced on the app-rpt-users mailing list that Jim passed away on December 16, 2016.

Jim’s contributions to IP telephony and to the amateur radio hobby were significant and he shall be well remembered.