A large scale public health/public safety initiative when I worked for the City of New York was NYPD’s radiation monitoring program. Designed to detect a dirty bomb, it makes use of wireless real-time alerting.
Now you can perform your own monitoring as part of your amateur radio station and send the results in real-time to the Automatic Packet Reporting System.
Amateur radio operator “Adminck” (S55MA) in Slovenia has published this blog post. It explains how a Raspberry Pi Zero, a tiny geiger counter, and some scripts are sending his radiation measurements live to the world via the internet.
During my 2017 SWL Fest presentation, I mentioned that there is no way to decode either HD Radio or ATSC HD Television using software designed for the RTL2832U dongles. The explanation I provided is that both protocols are covered by patents and that the holders have not been forthcoming on providing necessary details to the open source community.
A cybersecurity researcher, Theori, has cracked the codec used by the NRSC-5-C standard for US based terrestrial digital radio. I am now listening to HD Radio via an RTL SDR dongle. It takes a decent signal, so I’m not getting too many stations using an inside whip antenna, but there are enough to experiment with. It also takes a better dongle with good frequency stability. An older dongle without the TCXO was not up to the task, even on an i7 based system.
The discovery is summarized on the RTL SDR Blog. You’ll need some familiarity with building packages under Linux to grab the source from github and to compile it on your system. So far, I’ve compiled under Debian x86_64, Fedora x86_64, and Raspbian! Next, I want to get it running under Cygwin so that I can use it on the Windows 10 computer in the radio room.
It is a blast to be able to decode the alternate program streams. Audio quality is better than Sirius XM.
I’ve created an updated image for use with the DV4mini and the Raspberry Pi 2 and 3. It incorporates changes through dv4mini software version date 20170517. It also includes my Brandmeister XTG Dialer for use with extended routing.
Changes include enhacements for YSF reflectors, DMR, DStar as well as the introduction of a text chat window.
Thanks to Ulrich Prinz (DC3AX) for his hard work in support of the DV4 community!
Exit the Administrator command prompt and then open a command prompt as a regular user.
cd %AppData%

mkdir Python
Copy bmxtg-v1.2.zip into your %AppData%\Python directory and unzip.
Create a desktop shortcut to bmxtg.py. The “Target” should be “C:\Python27\pythonw.exe bmxtg.py” and the “Start in” directory should be “%AppData%\Python\bmxtg-v1.2”.
Be certain to review and follow the configuration notes in the README. Then, you’re ready to fire it up!
The Brandmeister XTG Dialer (BMXTG) has been updated to version 1.2. Enhancements include automatic download of the masters address list and automatic download of talkgroup IDs and labels. Any talkgroup label may be changed through use of the talkgroups.conf file. Be sure to review the README file for changes.
DV4mini control panel in the background with the Brandmeister XTG Dialer in the foreground.
The changes will make BMXTG easier to configure and the user no longer needs to be concerned about IP address changes of the BM servers. A simple stop and start of the program will refresh the server list and talkgroup list automatically.
I’ve also updated the DV4mini Raspberry Pi 2/3 image to include BMXTG v1.2.
My Aussie mate, Mark Fahey, has spent a number of years studying the Democratic People’s Republic of Korea. He passes on the following information about North Korean “spy numbers” stations:
“The Pyongyang numbers (designated V15) have either become less regular or changed their schedule since March. Its been a few months since I have personally received them – but I also haven’t been specifically tuning in for them lately so maybe I have simply missed noticing a timing change.
“If you want to find the North Korean numbers, they are read out in a block between songs within the regular programing of the Pyongyang Pangsong radio station. The choice of music immediately before the number block seems to indicate which recipient agent the transmission is directed to. For Agent 27 “We Will Go Together with a Song Of Joy” is played, whereas Agent 21’s song is “Spring of my Hometown.”
“The announcements typically take between 5 to 10 minutes to read dependent on the number of digits passed. The transmission schedule is variable; in early 2017 the broadcast alternated with a cycle of one week on Thursday night at 12:45AM Pyongyang Time (1615 UTC) and the following week on Saturday night at 11:45PM Pyongyang Time (1515 UTC).
“Pyongyang Pangsong can be heard on these shortwave band frequencies (it is also on MF & FM on the Korean peninsular):
If you’re interested in learning about what life is like “Behind the Curtain“, Mark has compiled a detailed multimedia publication based upon his actual observations inside North Korea. It is available at no cost via iTunes.
A key component of next generation air traffic control is Automatic Dependent Surveillance – Broadcast (ADS-B). The current FAA mandate is for all included aircraft to output ADB-B transmissions no later than January 1, 2020. But you don’t have to wait to receive and map ADS-B. There is a lot of air traffic to be seen.
dump1090 as viewed via a remote web browser.
Some folks are using complete downloadable images that are set up to feed flight tracking services such as FlightAware. If you’re interested in doing this, The SWLing Post recently featured an article that you’ll enjoy. I wanted to explore whether I could use some items already on hand to see a map of overhead aircraft on any computer on my home network.
I pulled out an older Raspberry Pi Model B and a 4 GB SD-Card and installed a copy of Raspbian Jessie Lite. The Model B has been retroactively called a Raspberry Pi 1 Model B. It is equipped with 512 MB of RAM, two USB ports and a 100mb Ethernet port.
I decided to use a spare older RTL-SDR stick based on the RTL2832U and R820T chips. This USB device comes with a small antenna that I hoped would be good enough to get me started. It is not in any way optimized for the 1090 MHz signals that are used by ADS-B and is roughly 19 parts per million (ppm) off frequency. It cost a bit over $10 at a hamfest a couple of years ago. The designs have improved since the early models were offered. Newer models include a TCXO (thermally compensated crystal oscillator) for stability and accuracy.
I needed software to take signals from the RTL-SDR stick and plot them on a map. That software is “dump1090”, originally written by Salvatore Sanfilippo. I added an install stanza to the Makefile, along with a systemd service file, for a smooth system install. I also needed to install the RTL-SDR USB drivers. The complete installation runs “headless”, meaning no monitor, keyboard or mouse need be connected. Remote management can be done via ssh.
First, bring the Raspbian Jessie installation up to date.
sudo apt-get update

sudo apt-get upgrade
Add some needed packages.
sudo apt-get install git cmake libusb-1.0-0-dev
Compile and install RTL-SDR drivers.
git clone git://git.osmocom.org/rtl-sdr.git

cd rtl-sdr

mkdir build

cd build

cmake ../ -DINSTALL_UDEV_RULES=ON

make

sudo make install

cd ~

sudo cp ./rtl-sdr/rtl-sdr.rules /etc/udev/rules.d/
Prevent native DVB-T drivers from loading.
cd /etc/modprobe.d

sudo vi blacklist.conf
Add blacklist dvb_usb_rtl28xxu to the file and save. You may now reboot. After the system comes back online, plug in your RTL-SDR device and the driver should load. You may test by running rtl_test -t. If the device is properly seen by the driver you should see the following:
Found 1 device(s):
  0:  Realtek, RTL2838UHIDIR, SN: 00000001

Using device 0: Generic RTL2832U OEM
Found Rafael Micro R820T tuner
Supported gain values (29): 0.0 0.9 1.4 2.7 3.7 7.7 8.7 12.5 14.4 15.7 16.6 19.7 20.7 22.9 25.4 28.0 29.7 32.8 33.8 36.4 37.2 38.6 40.2 42.1 43.4 43.9 44.5 48.0 49.6
[R82XX] PLL not locked!
Sampling at 2048000 S/s.
No E4000 tuner found, aborting.
Don’t be concerned by the “No E4000 tuner found” message. The E4000 is an older chipset that is no longer used by today’s RTL-SDR devices.
Compile and install the dump1090 code.
https://github.com/K2DLS/dump1090.git

cd dump1090

make

sudo make install

sudo systemctl daemon-reload
–quiet runs in the background
–net starts a webserver so that you can access via a web browser
–lat set to YOUR decimal latitude (negative for South)
–lon set to YOUR decimal latitude (negative for West)
–ppm if you know the ppm tolerance of your device (otherwise omit)
–gain -10 which sets gain automatically
A full parameter list can be reviewed by typing dump1090 --help.
With an antenna connected you can perform a quick device check by typing dump1090 --interactive. If all is well you’ll see a screen like this:
Hex     Mode  Sqwk  Flight   Alt    Spd  Hdg    Lat      Long   Sig  Msgs   Ti/
-------------------------------------------------------------------------------
A39D11  S                                                         6     1    4
A25D36  S                     1775                                7     4    3
AAA593  S                     2575  205  075                      7     2    7
A25238  S                                                         4     1   12
A0480B  S                    19650                                8    28    3
ACF4DD  S                     3825                                7     2   14
A41F61  S           FDX3018   2800  211  025   40.428  -74.332   23    83    0
A6FFFE  S     1753  LXJ550   30475  371  226                      8    63    0
C060B3  S                     4625                                6    14    1
ACF69B  S                    23250                                6    25    1
A2D27C  S                    24000                               13    42    2
A0BF90  S                     9500  249  257                      5     3    9
A7D30A  S                    40000                                8   111    1
AE0192  S           SPAR958  32675                               22    93    0
ACC040  S                     7825                                8   146    2
ACA5DF  S                    26600                                6    79    0
A80C7B  S                     4550                                9   108    1
A7CC00  S                     7825                               35   123    0
ACF841  S     1507           14425                               50   132    0
A8C802  S           NKS149   23575  332  216   39.995  -74.262   12   160    0
A61949  S           UAL1105   2725                               14    60    0
AC2E20  S     1006           19925                               22   130    0
AB766A  S           DAL1526   8525  216  038   40.444  -74.213   81   249    0
AA4440  S                     5400  253  066                      6     6   13
Control-C exits this screen.
Now start the dump1090.service.
sudo systemctl start dump1090.service
If all goes well, a netstat -an will show that there is a binding to port 8080.
tcp 0 0 0.0.0.0:8080 0.0.0.0:* LISTEN
Now you can start up a web browser from any computer on your home network and see a map of planes overhead. If your router supports internal dynamic DNS you can name the RPi and access via something like http://skynet:8080. Alternatively, use the IP address, which can be obtained via ifconfig.
In this case, the URL would be http://192.168.1.123:8080.
Once the map appears, re-position it to your part of the world and enjoy learning about what is flying overhead. You can enhance your enjoyment by listening to your closest airport tower or air traffic control frequencies on a scanner. These transmissions use amplitude modulation (AM) and can be monitored an another RTL-SDR stick or a scanner, even a relatively old model.
The DV4mini software developers have been hard at work fixing bugs, especially with DMR, and making things work better. So, I thought it time to create a new DV4mini RPi image for your enjoyment. I first built my own image last year when I wanted to have turnkey vnc access to my DV4mini/RPi system.
This build no longer contains the unsupported DV4MF2 software. Rather, it has the most recent version of the DV4mini dashboard (201.77), the updated dv_serial (20170106) and my add on Brandmeister XTG Dialer. If you haven’t used the XTG dialer before, you’re in for a treat. It works great with a touchscreen display, but just fine with a keyboard and a mouse too. You might need to edit a couple of text files to set it up to your liking. For details, see /opt/dv4mini/bmxtg/README once you have the distro up and running.
Important default password info follows.
root / raspberry
pi / dv4m
vncviewer – dv4m
You SHOULD change the default passwords after you get things going. The standard unix passwd command is used to change the root and pi passwords. To change the vnc password, use x11vnc -storepasswd.
As promised during Thursday afternoon’s presentation at the SWL Fest, here are the links for RTL software and info mentioned. If you attended the presentation, I hope that you enjoyed it and found it useful.
SDR#, a flexible SDR app for Windows with MANY plugins DSD+, decodes P25, DMR, Fusion, DStar (data only), and others Virtual Audio Cable, a virtual patch cable to send the output of one program into the input of another Unitrunker, analog and digital trunk tracker with lots of data decoding HDSDR, a software radio that can also make use of the RTL-SDR hardware Linrad, for those who prefer to work in a Linux or Mac environment DAB Player, requires the original (not Zadig WinUSB drivers
Update: I have added the video narratives as a YouTube playlist.
Correction: During the talk I stated that I thought the MCX connector used on the earlier DVB-T dongles appeared to be the same as the connector used on some Sirius satellite receivers. I just took a close look and realized that while they are somewhat similar in appearance, the Sirius connector is larger and is actually an SMB connector.
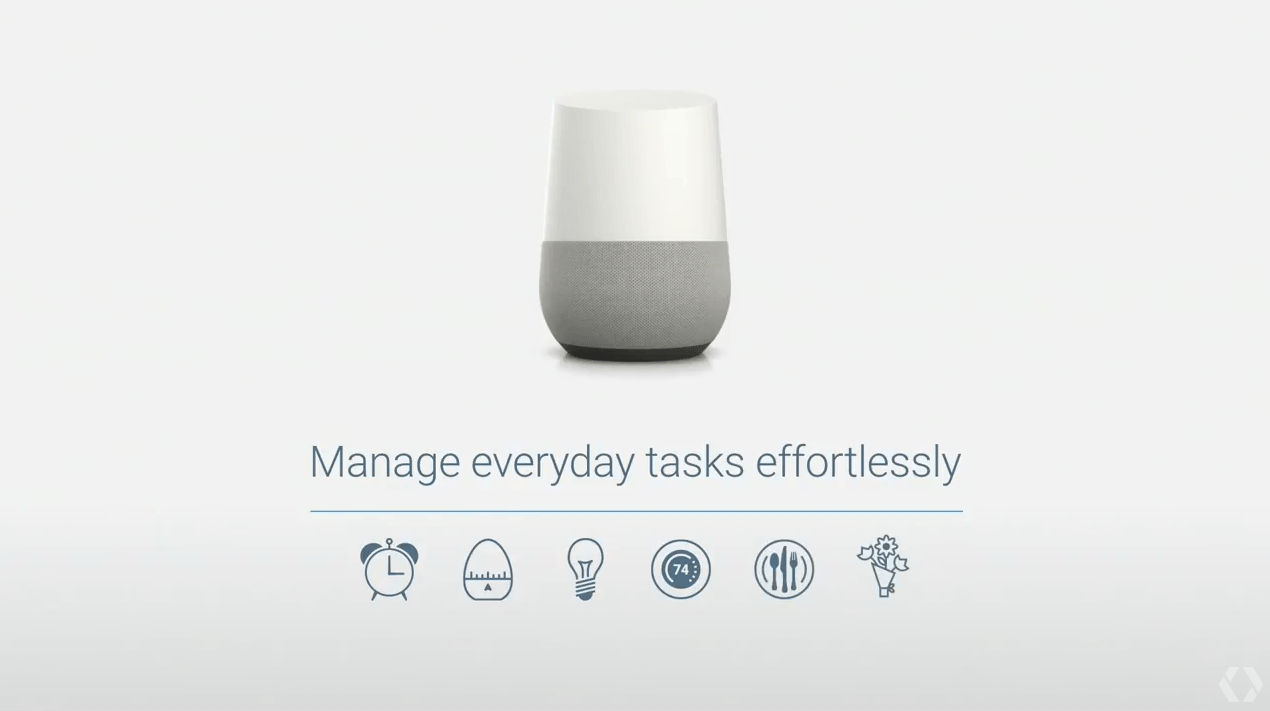
Two new toys showed up at the front door today. I took my time deciding between Amazon Echo and Google Home. I decided that Google Home was the my best choice. When I went to order, I saw that the Google Store is offering a discount on a Chromecast dongle purchased along with Home. The discount of $15 is available through midnight Pacific time on January 28.
Google Home is about what I expected, although it currently has some limitations. If your content is on Pandora, YouTube, or Netflix you will love the device. It cannot currently access content on Hulu or the various broadcast network apps. However, you can still access the content via your mobile device and then press the “Cast” button to view the content on your big screen.
The sound quality of Home is good for the size of the device. Setup of home is fairly easy using the Android app. Chromecast connects via an HDMI port but just hangs there. It ought to have some way of attaching it to the rear of the monitor. I may try some 3M double faced tape.
Home integrates with my Google calendar, so in the morning I can say, “Hey Google, what is my day like?” I’ll hear appointments, the weather, and the NPR news. It is supposed to be able to support multiple identities but I haven’t tried this yet. Tina will want to be able to hear her calendar too.
I tried listening to a number of different audio sources via Pandora and TuneIn. It all worked, except for CKTB, a news talk station in the Niagara area that I enjoy. Google thinks I am asking for CK TV and cannot locate it. I was able to cast content from the CBS app installed on my phone with little effort.
I’m sure I’ll learn more about the capabilities of Google Home and Chromecast as the days go on. Home is said to rely completely on the cloud so lacking features such as Hulu ought to be remedied in short order.
If you’re concerned about privacy, you should know that all your searches are logged, but can be deleted via the Google Home Android app. The device also sports a mute button should you wish to prevent Home to hearing private conversations.
If you enjoy varied media content and like to experiment, Chromecast and Home make a great combination and will provide hours of enjoyment.